


- Key Findings
- SOG harvests in 8–10 weeks total (veg + flower) vs. 12–16 weeks for large-plant methods
- Optimal density: 1 plant per 30×30 cm in 1- to 3-litre pots
- Indica-dominant strains outperform sativas in SOG — compact internodal spacing is essential
- Clones are preferred over seeds for uniformity; uneven heights break canopy integrity
- Lower “lollipoping” removes sub-canopy growth and concentrates energy into the single main cola
- US states limiting plant counts benefit most from SOG — maximum yield per licensed plant
- Under 600W HPS or equivalent LED, expect 300–500 g/m² with well-executed SOG
What Is Sea of Green?
Sea of Green (SOG) is a cannabis cultivation strategy built on one core principle: more smaller plants harvested faster beats fewer larger plants harvested slowly. Instead of vegetating 2–4 plants for 4–8 weeks and training them into wide canopies, SOG packs 9–16 plants per square metre, each spending just 1–2 weeks in vegetative growth before switching to a 12/12 light cycle to trigger flowering.
The result is a uniform, flat canopy — a literal “sea” of green tops — where every plant produces one dominant central cola. Light distribution is maximised because no single plant shades another. The technique originated in commercial Dutch greenhouse operations in the 1970s and 1980s, where space efficiency and harvest frequency were economic priorities. Today it remains one of the most production-efficient methods available to home growers operating under plant-count restrictions or tight timelines.
SOG vs. SCROG vs. LST: Direct Comparison
Each training method suits different grow goals, space constraints, and genetics. Here’s how they stack up across the metrics that matter most:
| Metric | SOG | SCROG | LST |
|---|---|---|---|
| Plant count (per m²) | 9–16+ | 1–4 | 2–6 |
| Veg time | 1–2 weeks | 4–8 weeks | 3–6 weeks |
| Harvest speed | Fastest | Moderate | Moderate |
| Complexity | Low–Medium | Medium–High | Low |
| Clone dependency | High | Low | Low |
| Training labour | Minimal | High (weekly) | Medium |
| Yield per m² | High | Very High | Medium–High |
| Best for | Fast cycles, clone availability | Max yield, seed grows | Beginners, low ceilings |
How to Set Up SOG: Step-by-Step
A well-executed SOG setup takes under two hours to configure. Follow these steps in sequence for a uniform, high-performing canopy:
- Prepare containers. Fill 1- to 3-litre fabric or plastic pots with your chosen medium. Pre-moisten soil or coco before transplanting. Smaller containers restrict vegetative growth and keep plants compact — this is intentional, not a limitation.
- Source uniform clones. Clones from the same mother plant ensure identical genetics, height, and flowering time. Seeds can work but introduce height variation that disrupts canopy uniformity. Autoflowering seeds are an acceptable alternative for consistent results.
- Space at 25–30 cm centres. Place pots in a tight grid. 1 plant per 30×30 cm (roughly 11 plants/m²) is the proven sweet spot balancing airflow and canopy density. Mark your grid before placing pots to ensure consistency.
- Veg for 1–2 weeks under 18/6. Allow clones to establish roots and reach 15–25 cm. Experienced growers with fully rooted 10–15 cm clones sometimes flip on day 1 of transplant to maximise cycle speed.
- Flip to 12/12. Switch the light timer to 12 hours on / 12 hours off. Photoperiod strains begin the hormonal flowering response within 5–10 days. Mark your flip date to track week-by-week flower development.
- Lollipop at week 2 of flower. Remove all growth below the top 20–25 cm of each plant. This eliminates low-light bud sites that waste energy and improves critical airflow at the base of the canopy.
- Manage canopy height. Tuck or remove any shoots breaking above the uniform canopy line. Consistent top height ensures every cola receives maximum PPFD from your light fixture.
- Maintain environment strictly. Dense planting raises humidity and heat risks. Target 22–26°C and 45–55% RH during flower. Check conditions at canopy level, not at the sensor hanging in open air.
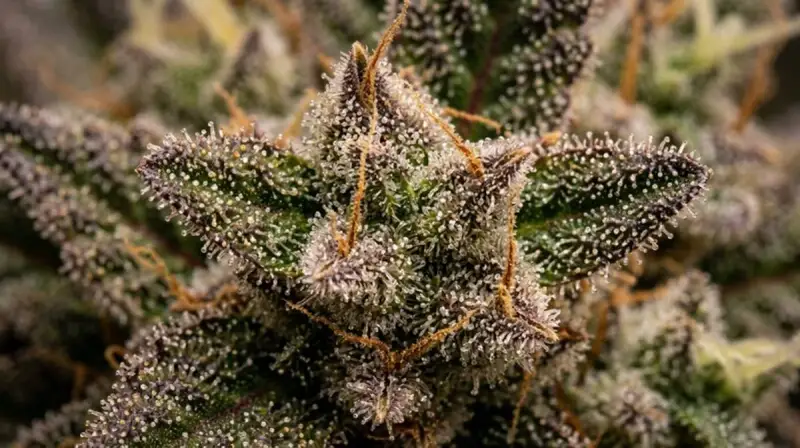
- Harvest by trichome maturity. Check under a 60× loupe or digital microscope. Harvest when 70–80% of trichomes are milky white with a few amber. Check each plant individually — uniform clones may still vary by 3–5 days.
- Reset and repeat. SOG’s advantage compounds across cycles. With a perpetual setup (separate veg and flower tents), harvest every 8–10 weeks without interruption indefinitely.
Optimal Plant Density by Grow Space
| Grow Space | Recommended Plants | Pot Size | Light Required | Expected Yield |
|---|---|---|---|---|
| 60×60 cm | 4 plants | 1–2 L | 150–200W LED | 50–100 g |
| 80×80 cm | 6–9 plants | 1–2 L | 200–300W LED | 80–160 g |
| 1.0×1.0 m | 9–12 plants | 2–3 L | 400–600W LED | 150–300 g |
| 1.2×1.2 m | 12–16 plants | 2–3 L | 600–800W LED | 200–400 g |
| 2.4×1.2 m | 24–32 plants | 3 L | 1000–1200W LED | 400–800 g |
Best Strains for SOG
Ideal SOG strains share three traits: compact internodal spacing, fast flowering (7–9 weeks), and a dominant single-cola structure. Sativa-dominant strains with long internodes and heavy stretch are difficult to manage in SOG and should be avoided.
| Strain | Type | Flowering Time | Final Height | Yield (SOG) | SOG Suitability |
|---|---|---|---|---|---|
| Northern Lights | Indica | 7–8 weeks | 60–90 cm | High | Excellent |
| OG Kush | Hybrid (Indica-dom.) | 8–9 weeks | 80–100 cm | High | Excellent |
| Critical Mass | Indica | 7–8 weeks | 60–80 cm | Very High | Excellent |
| White Widow | Hybrid | 8–9 weeks | 80–100 cm | Medium–High | Good |
| Blue Cheese | Indica-dom. | 8 weeks | 70–90 cm | High | Good |
| Amnesia Haze Auto | Autoflower | 10–11 weeks (seed) | 50–70 cm | Medium | Good (autos only) |
Lighting for a Dense SOG Canopy
SOG’s flat, uniform canopy is ideally matched to wide-beam LED quantum board fixtures. These distribute light evenly across the entire surface without hotspots — critical when all tops compete for photons at the same height. Target a PPFD of 600–900 µmol/m²/s at canopy level during flower.
HPS remains viable in SOG: a 600W HPS covers 1.2×1.2 m effectively and is proven technology in commercial SOG operations. LED quantum boards at equivalent wattage run cooler, allowing closer hang distances (30–45 cm above canopy) and lower HVAC loads. CMH (Ceramic Metal Halide) is an excellent middle ground: broad full-spectrum output, moderate heat, and superior terpene development compared to narrow-spectrum HPS.
Avoid budget blurple (red+blue) LEDs in SOG. Their narrow beam angle creates uneven PPFD distribution across a dense canopy, resulting in bright centres and dim edges. In a technique where canopy uniformity is everything, uneven light is the primary yield-limiting factor.
Airflow and Humidity Management
Dense plant populations are SOG’s highest risk factor. Stagnant air between closely spaced plants creates microclimates with elevated humidity and temperature, providing ideal conditions for botrytis (bud rot) and powdery mildew. Prevention is straightforward but non-negotiable:
- Horizontal oscillating fans at canopy level, moving air across (not directly blasting into) the tops
- Inline exhaust fan sized to exchange the room’s total air volume every 1–2 minutes
- Lollipoping at day 14–21 of flower to open the sub-canopy for airflow
- Dehumidifier during weeks 5–9 of flower when target RH drops to 40–45%
- VPD monitoring — target 1.0–1.5 kPa during flowering for optimal stomatal function and transpiration
Inspect the underside of leaves and the base of colas weekly from week 5 of flower. Early botrytis appears as grey-brown discolouration at the stem base inside the bud. Catching it in the first 24 hours means removing one cola; missing it for 3 days means losing the harvest.
Common SOG Mistakes and Fixes
| Mistake | Consequence | Fix |
|---|---|---|
| Seeds instead of clones | Uneven heights, broken canopy | Use clones from same mother; autoflowering seeds are an acceptable alternative |
| Veg too long | Plants too tall, canopy unmanageable | Flip at 15–25 cm; finished SOG plants should reach 40–70 cm |
| Pots too large | Excessive veg growth | Use 1–3 L containers; restrict root volume intentionally |
| Skipping lollipoping | Popcorn buds, poor airflow, mould risk | Defoliate lower third at day 14–21 of flower |
| Insufficient airflow | Botrytis, powdery mildew | Oscillating fans + dehumidifier; maintain RH below 50% in flower |
| Harvesting all at once without trichome checks | Suboptimal potency and yield | Check each plant individually — uniform clones may vary by 3–5 days |
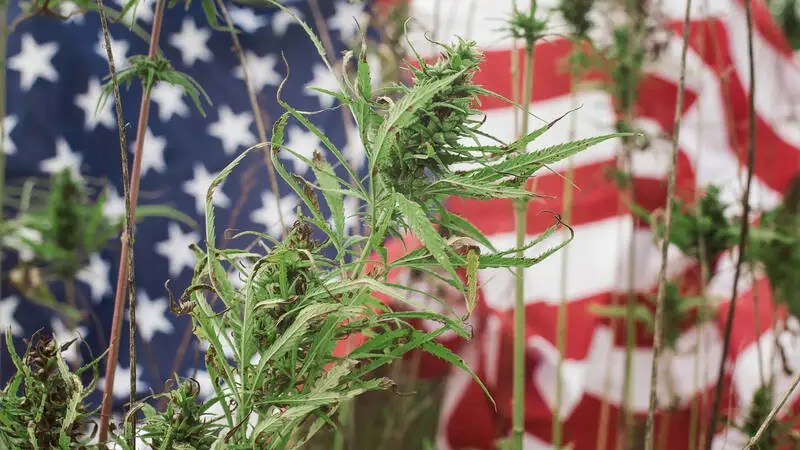
SOG and Plant Count Regulations
In jurisdictions that regulate cannabis by individual plant count rather than total weight or canopy area, SOG is a strategically valuable technique. A household permitted 6 plants sees dramatically different annual output depending on method:
- 6 large plants (8-week veg, SCROG-trained): approximately 600–900 g dried, harvested once every 20–24 weeks
- 6 SOG plants (2-week veg, 8-week flower): approximately 150–250 g dried per cycle, harvestable every 10–12 weeks — twice the annual output for the same plant count
Always verify local regulations before applying any cultivation technique. In some jurisdictions “plant count” applies only to rooted plants, which affects perpetual clone management strategies. Compliance with applicable law is mandatory and non-negotiable.
Running a Perpetual SOG Harvest
The ultimate expression of SOG efficiency is a perpetual harvest system: two separate tents operating simultaneously, one for vegetative growth and one for flowering. While one batch finishes flowering and is harvested, the next batch is completing its 1–2 week veg period and ready to enter the flower tent.
A perpetual SOG system with a 1.0×1.0 m veg tent and a 1.2×1.2 m flower tent can produce a harvest every 8–10 weeks indefinitely. Over a 52-week year, that represents 5–6 harvests compared to 2–3 for conventional single-tent grows. The veg tent requires only a fraction of the energy of the flower tent (18/6 with 150–200W vs. 12/12 with 600W+), making the system surprisingly electricity-efficient relative to its annual output.
Mother plants — a single plant kept in perpetual veg — supply a continuous stream of genetically identical clones. One healthy mother in a 20 L pot under 18/6 can supply 8–12 clones every 3–4 weeks. This removes seed cost from the equation entirely once the mother is established.
Frequently Asked Questions
Running a Perpetual SOG Harvest
The ultimate expression of SOG efficiency is a perpetual harvest system: two separate tents operating simultaneously, one for vegetative growth and one for flowering. While one batch finishes and is harvested, the next batch completes its 1–2 week veg period and enters the flower tent.
A perpetual SOG system with a 1.0×1.0 m veg tent and a 1.2×1.2 m flower tent produces a harvest every 8–10 weeks indefinitely. Over 52 weeks, that represents 5–6 harvests compared to 2–3 for conventional single-tent grows. The veg tent requires only a fraction of the flower tent’s energy (18/6 at 150–200W vs. 12/12 at 600W+), making the system surprisingly electricity-efficient relative to annual output.
Mother plants — a single vegetating plant maintained on 18/6 — supply genetically identical clones continuously. One healthy mother in a 15–20 L pot can supply 8–12 clones every 3–4 weeks, eliminating seed cost from the equation entirely once established.
SOG Troubleshooting: Canopy Issues and Solutions
Common mid-grow canopy problems and how to address them without losing the harvest:
- Uneven canopy height: Elevate shorter plants on bricks or upturned pots to bring all tops level. Fold tallest plants gently to even the canopy — early-flower LST adjustments are still viable in SOG week 1–2.
- One plant finishing faster: This is genetic drift even in clone batches. Harvest the ready plant early and let others finish. Record which mother produced the rogue clone for future selection.
- Excessive stretch: If plants stretch past 70 cm, weave the tallest colas through a temporary net to prevent blocking light to shorter neighbours.
- Humidity spike at week 6–7: Dense mature buds release significant transpiration moisture. Add a second oscillating fan and run the dehumidifier continuously through harvest.