


- Optimal drying conditions are 60–70°F (15–21°C) at 45–55% relative humidity for 7–14 days in a dark, ventilated space.
- The stem snap test is the reliable readiness indicator: a medium branch should snap cleanly rather than bend when the outer material is ready for jars.
- Jar curing for a minimum of 4 weeks is required for significant potency and flavour improvement; 8–12 weeks produces noticeably smoother smoke and fuller terpene expression.
- Chlorophyll breakdown during curing is the primary biochemical mechanism responsible for reduced harshness and improved flavour — it requires time, not heat.
- Target water activity (Aw) inside curing jars is 0.55–0.65 Aw; above 0.65 Aw, microbial growth — including Botrytis cinerea (bud rot) — becomes a risk.
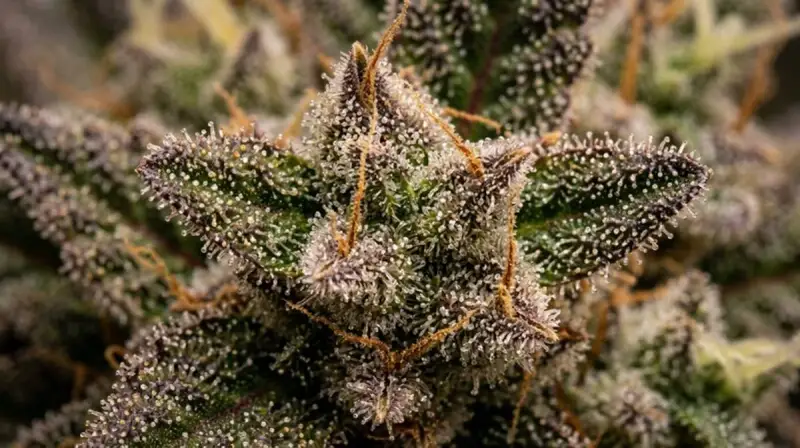
- Terpene degradation is the principal quality loss during poor drying: high heat, direct light, and excessive airflow can destroy up to 30% of aromatic compounds before curing begins.
- Long-term storage in vacuum-sealed, UV-protected containers at freezer temperature can maintain cannabinoid stability for up to two years with minimal degradation.
Drying Environment: Temperature, Humidity, and Airflow
The single greatest mistake most first-time growers make after harvest is rushing the drying process. Impatience leads to high-temperature, low-humidity fast drying that destroys terpenes, produces harsh smoke, and locks moisture unevenly inside dense buds — creating perfect conditions for mould to develop in the jar two weeks later. Drying is not a step to compress; it is where much of the final quality of your harvest is determined.
The ideal drying environment operates within narrow parameters: temperature between 60 and 70 degrees F (15–21 degrees C), relative humidity between 45 and 55%, gentle indirect air circulation (a fan pointed at a wall, not directly at the buds), and complete darkness. Light degrades cannabinoids through photodegradation — the same process that turns THC into CBN in stored cannabis — and heat above 80 degrees F volatilises the lightest, most fragrant terpenes before the plant even reaches the jar. Darkness and controlled temperature are non-negotiable throughout both drying and curing.
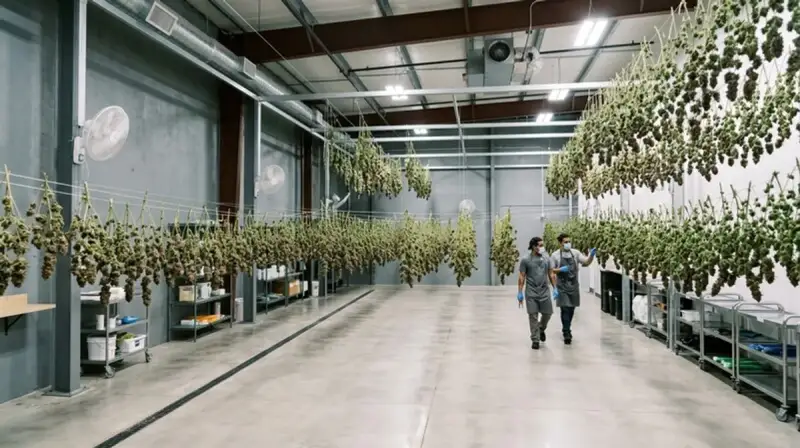
Whole-branch hang drying — cutting branches at harvest and hanging them upside down from a wire or string — is the gold standard for preserving terpene integrity. The sugar leaves and remaining fan leaves act as a moisture buffer, slowing the drying rate and protecting the resin glands on the bud surface from excessive airflow. Flat-rack drying on mesh screens is an acceptable alternative where hanging is not practical, but requires more frequent rotation to prevent flat spots and ensure even moisture release. For growers who applied effective training techniques during veg, branchy plants with widely spaced bud sites hang-dry more evenly and faster than dense, untrained Christmas-tree structures.
| Factor | Wet Trim (before drying) | Dry Trim (after drying) |
|---|---|---|
| Speed | Faster — leaves soft and pliable | Slower — leaves curl and cling |
| Terpene preservation | Lower — bud surface exposed early | Higher — leaves protect trichomes |
| Moisture retention | Lower — faster moisture loss | Higher — slower, more even drying |
| Resin gland protection | Lower — trichomes exposed to airflow | Higher — leaf layer provides buffer |
| Mould risk during drying | Lower — faster drying reduces window | Higher if humidity not controlled |
| Final product quality | Acceptable | Superior in controlled environments |
| Best for | Large harvests, commercial operations | Home growers prioritising quality |
The Stem Snap Test and When to Begin Curing
Knowing precisely when your cannabis is dry enough to move into curing jars is one of the most important skills in post-harvest processing. Move too early and excess moisture in the jar will drive humidity above 65% — the threshold at which Botrytis cinerea (grey mould/bud rot) and other pathogens can establish. Move too late and over-dried cannabis loses terpene content permanently, produces brittle, crumbly bud that is difficult to handle, and cures poorly because there is insufficient residual moisture to drive the remaining biochemical processes.
The industry-standard readiness test is the stem snap: take a medium-weight branch — roughly the diameter of a pencil — and bend it with both hands. If it bends without snapping, more drying time is needed. If it snaps cleanly with an audible crack, the outer material has reached the target moisture level. Small stems and thin branches will snap before the centre is ready; focus the test on branches of medium calibre from the interior of the plant where moisture takes longest to escape.
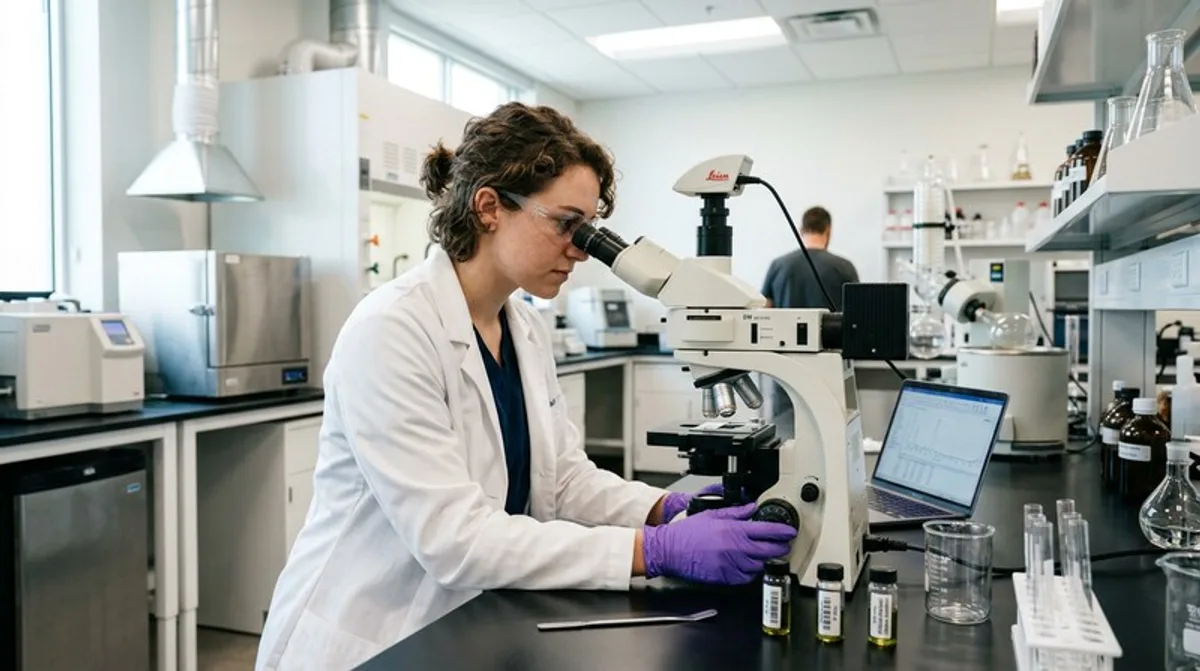
A more precise measurement uses a water activity (Aw) meter, which is the preferred tool in licensed commercial cannabis processing. The target Aw range is 0.55–0.65. Below 0.55 Aw the product is over-dried; above 0.65 Aw microbial risk is elevated. Aw meters designed for food and cannabis processing are available from several professional suppliers and represent a worthwhile investment for growers who process large harvests regularly. For most home growers, the stem snap test combined with a standard hygrometer inside the drying space provides sufficient accuracy for consistent results.
Jar Curing Protocol: Week-by-Week Schedule
Glass mason jars are the universally preferred curing vessel because glass is non-reactive, airtight, and does not impart any flavour to the product. Wide-mouth quart (litre) jars are the most practical size for home growers — large enough to hold a meaningful amount without packing, small enough to manage and burp quickly. Fill jars to approximately 75% of their capacity — never pack buds tightly, as this traps moisture pockets and encourages mould. Store in a cool, dark location at 60–65 degrees F throughout the entire curing period.
Curing schedule:
- Week 1: Open jars twice daily for 15–30 minutes. Gently shake or roll the buds to expose all surfaces to fresh air. This process — called “burping” — releases accumulated moisture vapour and CO2 produced by microbial activity on the plant material. If the jar smells of ammonia after opening, moisture is too high; leave the lid off for several hours or return buds to the drying rack for 24 hours before re-jarring.
- Weeks 2–3: Burp once daily for 15–30 minutes. Humidity inside the jar should be stabilising toward the 58–62% target range. A small hygrometer card placed inside the jar at this stage provides accurate feedback.
- Month 2 onward: Open jars once weekly. Chlorophyll breakdown is now well advanced, the harsh “green” taste is largely gone, and the terpene profile is becoming clearer and more complex.
- Months 3–6: Premium long-cure cannabis. Monthly opening is sufficient. Many connoisseur growers report that 90-day-cured material from high-quality genetics represents the peak expression of flavour, aroma, and smoothness for that cultivar.
The biochemistry of curing involves multiple simultaneous processes: chlorophyll breaks down into colourless compounds, removing the “green” vegetal harshness from the smoke; enzymes continue converting remaining sugars; and residual moisture redistributes evenly throughout each bud, producing a consistent moisture content from surface to core. THCA — the non-psychoactive acid precursor to THC — does not significantly decarboxylate during room-temperature curing (that requires heat), but the overall terpene preservation and chlorophyll reduction meaningfully changes the subjective experience. Well-cured cannabis from the same harvest as freshly dried, uncured material consistently scores higher in blind taste and smoothness evaluations.
Humidity Packs, Water Activity, and Common Curing Mistakes
Humidity control packs are a simple passive tool that maintain a specific relative humidity inside sealed containers using a two-way moisture regulation system. The two most popular options among cannabis growers are Boveda 58% (slightly drier, preferred for storage) and Boveda 62% (slightly more humid, preferred for freshly cured cannabis with a bit more moisture). Boveda packs actively absorb moisture when humidity rises above their target and release it when humidity drops below — they are not a substitute for proper drying before jarring, but they are an excellent maintenance tool once the initial cure is underway.
Integra Boost packs offer a similar two-way humidity control at 55%, 62%, and 69% and are a common alternative to Boveda. Either brand placed inside a curing jar significantly reduces the frequency of burping required after the first two weeks of cure and provides insurance against accidental over-drying during long-term storage.
| Mistake | Result | Fix |
|---|---|---|
| Drying too fast (>80°F or <35% RH) | Terpene loss, harsh smoke, uneven moisture | Reduce temperature; increase room humidity; slow airflow |
| Jarring too early (stem still bends) | Mould risk; ammonia smell; bud rot in 1–2 weeks | Return to drying rack; leave jar lid off for 12 hours |
| Over-drying (crumbly, no stem snap) | Permanent terpene loss; brittle buds; poor cure | Add 62% Boveda pack; limit further air exposure |
| Packing jars too full | Moisture pockets; uneven curing; compacted trichomes | Fill to max 75% capacity; use additional jars |
| Skipping the burp schedule week 1 | CO2 and ammonia build-up; off-flavours; mould | Burp twice daily without fail for the first 7 days |
| Storing in light or above 70°F | Cannabinoid degradation; terpene volatilisation | Dark cupboard or drawer; stable cool temperature |
Long-Term Storage: Vacuum Sealing, Freezing, and Terpene Protection
Once the curing cycle is complete, the primary enemies of stored cannabis are heat, light, oxygen, and humidity fluctuation. Any one of these factors in excess accelerates the degradation of both cannabinoids and terpenes, turning premium cured material into stale, harsh product over months. The combination of all four is destructive even over weeks.
The three main factors that degrade terpenes in storage are heat (volatilisation — terpenes literally evaporate), light (photodegradation — UV and visible light break aromatic bonds), and oxygen (oxidation — exposure to air degrades sesquiterpenes and monoterpenes). Controlling these three variables is the entire science of long-term cannabis storage. UV-protective glass jars, vacuum sealing, and refrigerator or freezer storage each address one or more of these factors simultaneously.
For storage beyond three months, vacuum sealing in UV-protected amber glass and storing at refrigerator temperature (35–40 degrees F) is the optimal approach for home growers. Freezer storage at 0 degrees F extends cannabinoid stability to two years or more according to published studies — but frozen cannabis must be handled carefully as frozen trichomes are extremely brittle and will shatter and separate from the bud if the material is agitated while cold. Always allow frozen cannabis to reach room temperature in its sealed container before opening.
For growers interested in how the cannabinoid and terpene profiles of their stored flower relate to the medical and recreational effects they experience, our guide on what cannabis terpenes are and our overview of medical cannabis applications provide the scientific context behind these post-harvest chemistry changes.